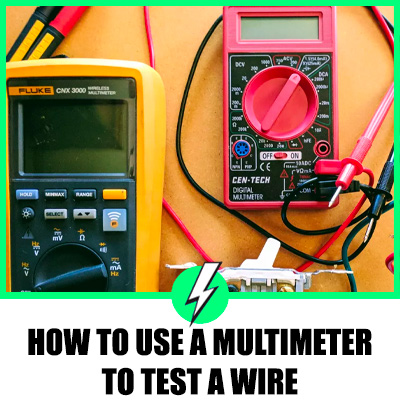
How To Use A Multimeter To Test A Wire
A multimeter is one of the most common electrical measuring pieces of equipment. This typically handheld tool relays precise readings, which is critical for any electrical work. Multimeters have the unique capacity to measure several functions. This includes current, voltage, resistance, and frequency, among others. This is among the top reasons why a multimeter is part of every respectable electrician’s arsenal.
In addition to its versatile functions, using a multimeter is pretty straightforward. But considering that it has a fancy appearance, it can seem a little daunting for first-timers. For testing different functions, you might need to tweak something on the equipment you are testing. However, the necessary steps to use a multimeter remain the same.
Here is a breakdown on how to use a multimeter to test a wire.
Contents
Testing wire with a digital multimeter
Note: Turn off the power from the wire that you will be testing by disconnecting it. This prevents the chances of accidental electric shock while testing. Testing wires in a high-energy environment can also damage the multimeter.
Setting up the multimeter
Turn on the multimeter. Some multimeters might also require you to press the continuity button before you can start using it.
Next, turn the dials and set it at the continuity mode with a tone. This option on a digital multimeter is typically towards the bottom. But it can vary depending on the brand and model. In most digital multimeters, a Volume sign denotes the continuity check option. Furthermore, it can also share the spot with a resistance function in some models. In this case, the spot on the dial bears the resistance sign, which is Ω.
Next, connect the test probes to the multimeter. The black one, which is the ground probe, typically goes in the COM socket or the standard jack.
For testing wires, the red probe goes in the volt or socket jack.
Holding the probes firmly, connect the metal lead on one end of the wire. The other metal lead goes to the opposite of the wire. In this regard, you do not have to be particular about where to place the positive and the negative probe.
A wire that has continuity and is functioning correctly will show a near-zero or a zero reading on display. If the multimeter supports it, it will beep or emit a similar tone.
If the multimeter does not emit a tone or show a zero/near-zero reading, you have a faulty wire in your hands.
After you confirm that the wire you are testing is right, you should also check its continuity to the appliance or its surrounding metal frame. Often, a wire with small damage may dissipate the current to the metal frame of the appliance or the control box. In most cases, the current is negligible. But sometimes it can be dangerous levels that can cause a fire hazard and electrical shocks.
How to test the continuity between a wire and a metal frame of the appliance
Testing the continuity between the wire and metal frame is pretty simple. Hold one end of the metal lead to one end of the wire. And hold the other metal lead to the metal frame. A zero or a near-zero reading shows continuity, and there is current leaking within the circuit.
In this case, you need to test all the wires with a multimeter. After identifying the faulty wire, you need to replace or repair it before using the device or appliance. If you leave the current-leaking wire unchecked, this can cause electric shocks, which can be fatal.
After you complete testing the wires, do not forget to switch off the multimeter. This will prevent its batteries from draining.
How to test a wire with an analogue multimeter
Most electricians these days use digital multimeter because it allows them to work faster. Most digital multimeters come with a tone provision, so the electrician does not have to keep looking at the readings. However, you can also use an analogue multimeter to test a wire.
You can use an analogue multimeter to test a wire following the same procedure as above. In almost all analogue multimeters, the continuity spot shares the same with resistance. Therefore, a zero or a near-zero reading on the resistance means that the wire is good and running.
How to use a multimeter to test a wire for current.
A multimeter also allows electricians to test for current or voltage in a wire. You can follow the same procedure as continuity testing for this procedure as well.
However, to test a wire for current, the red probe goes into the current socket. Depending on the multimeter, the socket may be a low current or high current. Low current sockets are marked mA on most multimeters. While 10 A or 20 A marks a high current socket. Using the mA socket usually is enough for testing currents on most wires. However, if you think the current in the wire may be higher, use the red probe in the 10 A or 20 A socket if you insert the probe in the mA socket when high current, it can blow up the fuse.
When and where testing wires may be necessary
Testing a wire with a multimeter is one of the quickest ways to diagnose a problem when an appliance is not working. In addition to appliances, testing wires also becomes necessary for testing electrical fuse, switches, conductors, and connections.
When you use a multimeter to test a wire, it is always a good practice to wear industry-grade safety gloves. A well-made multimeter does not pose the danger of electrical shocks as it meets the safety standards. But the same cannot be said for low-end multimeters. Nevertheless, most electricians use multimeters as handheld tools. So it best to be safe.
We like this safety insulating gloves for electricians. It hits a right balance of price, protection and is a definite winner in our books.